Esbocos do Porto Book Assembly
- DCartpress
- Apr 20, 2024
- 3 min read

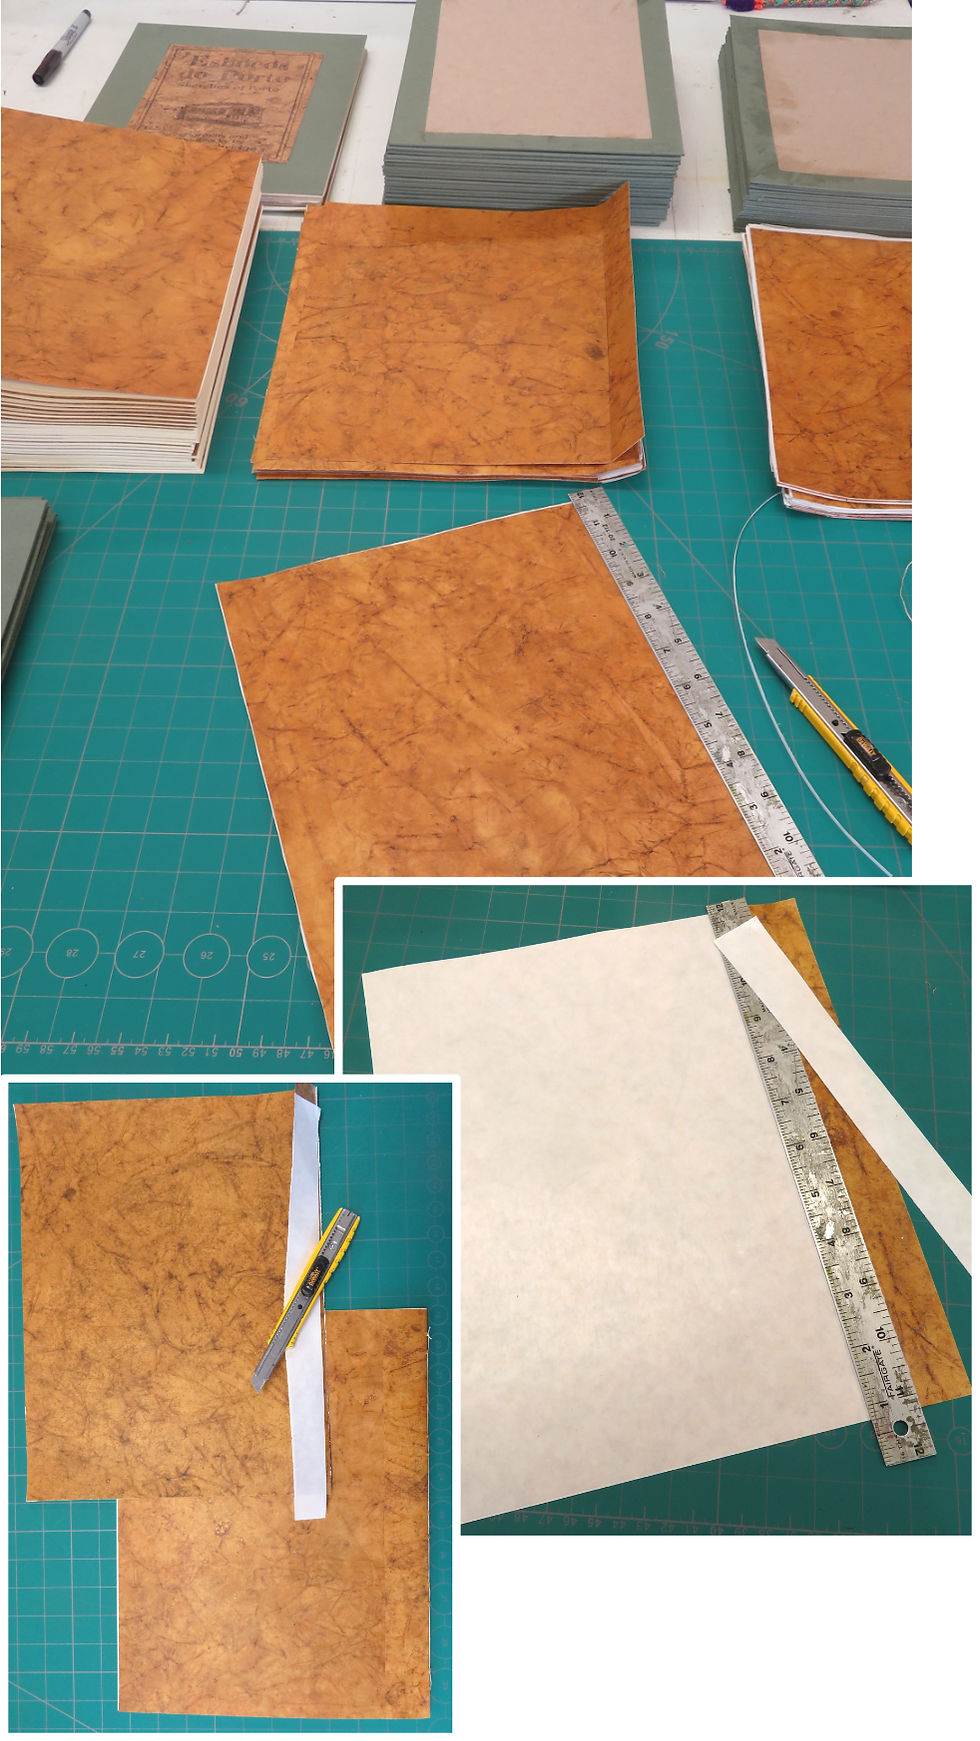
All the parts for the Esbocos do Porto book were gathered together and time set aside to assemble the books. The printed pages had been sown together into signatures, the end sheets folded, the back covers wrapped and the front cover, with its cork inset, wrapped as well.
I used an adhesive called Double-tack, a double sided sheet of adhesive, for the cover wraps, the front cover label, and the end sheets. A colleague’s advise for the Double-tack was that it is extremely tacky and you only get one chance at positioning the paper. Obviously, I had to see if that was true and made a few messy test books to learn how to position the paper in one shot.

The end sheets were backed with a full sheet of the adhesive and then trimmed. Each end sheet had a folded flap designed to adhere to the signature block. The fold serves as a hinge for the covers. The adhesive release paper was removed on the flap only and the fold aligned to the signature block spine with an 1/8” set back. End sheets were adhered to the front and back of the signature block.
At this point, all the signature blocks have an end sheet on the front and back with the release paper still in place waiting for the covers to be adhered. I then went back to the prototype books I created to review the steps to safely adhere the signature blocks to the covers. I also had a mess-up book to start with, planning to make the mistakes there and not on the good books.
Wanting to get a feel of how things would line up, I started with a dry fit which means aligning the covers to the signature block without gluing. The covers were aligned to the back edge of the signature block leaving a short 1/8” setback from the spine.

About 2” of the end sheet release paper was pealed back from the spine and the cover aligned to the signature block spine with the 1/8” set back. There is a momentary window before the cover is gently pressed onto the adhesive when the cover can be re-positioned. I try to pause at that moment, just before setting the cover onto the adhesive, to make sure the cover is positioned properly. With the cover adhered in place, the remaining release paper can be removed, adhering the cover in place.
With the book laying on the table, cover down, the process is repeated for the opposing cover. 2” of the end sheet paper was pealed back from the spine. The front corners of the covers were aligned and the cover lowered into place, pausing to check the alignment to the spine before pressing the cover onto the adhesive.
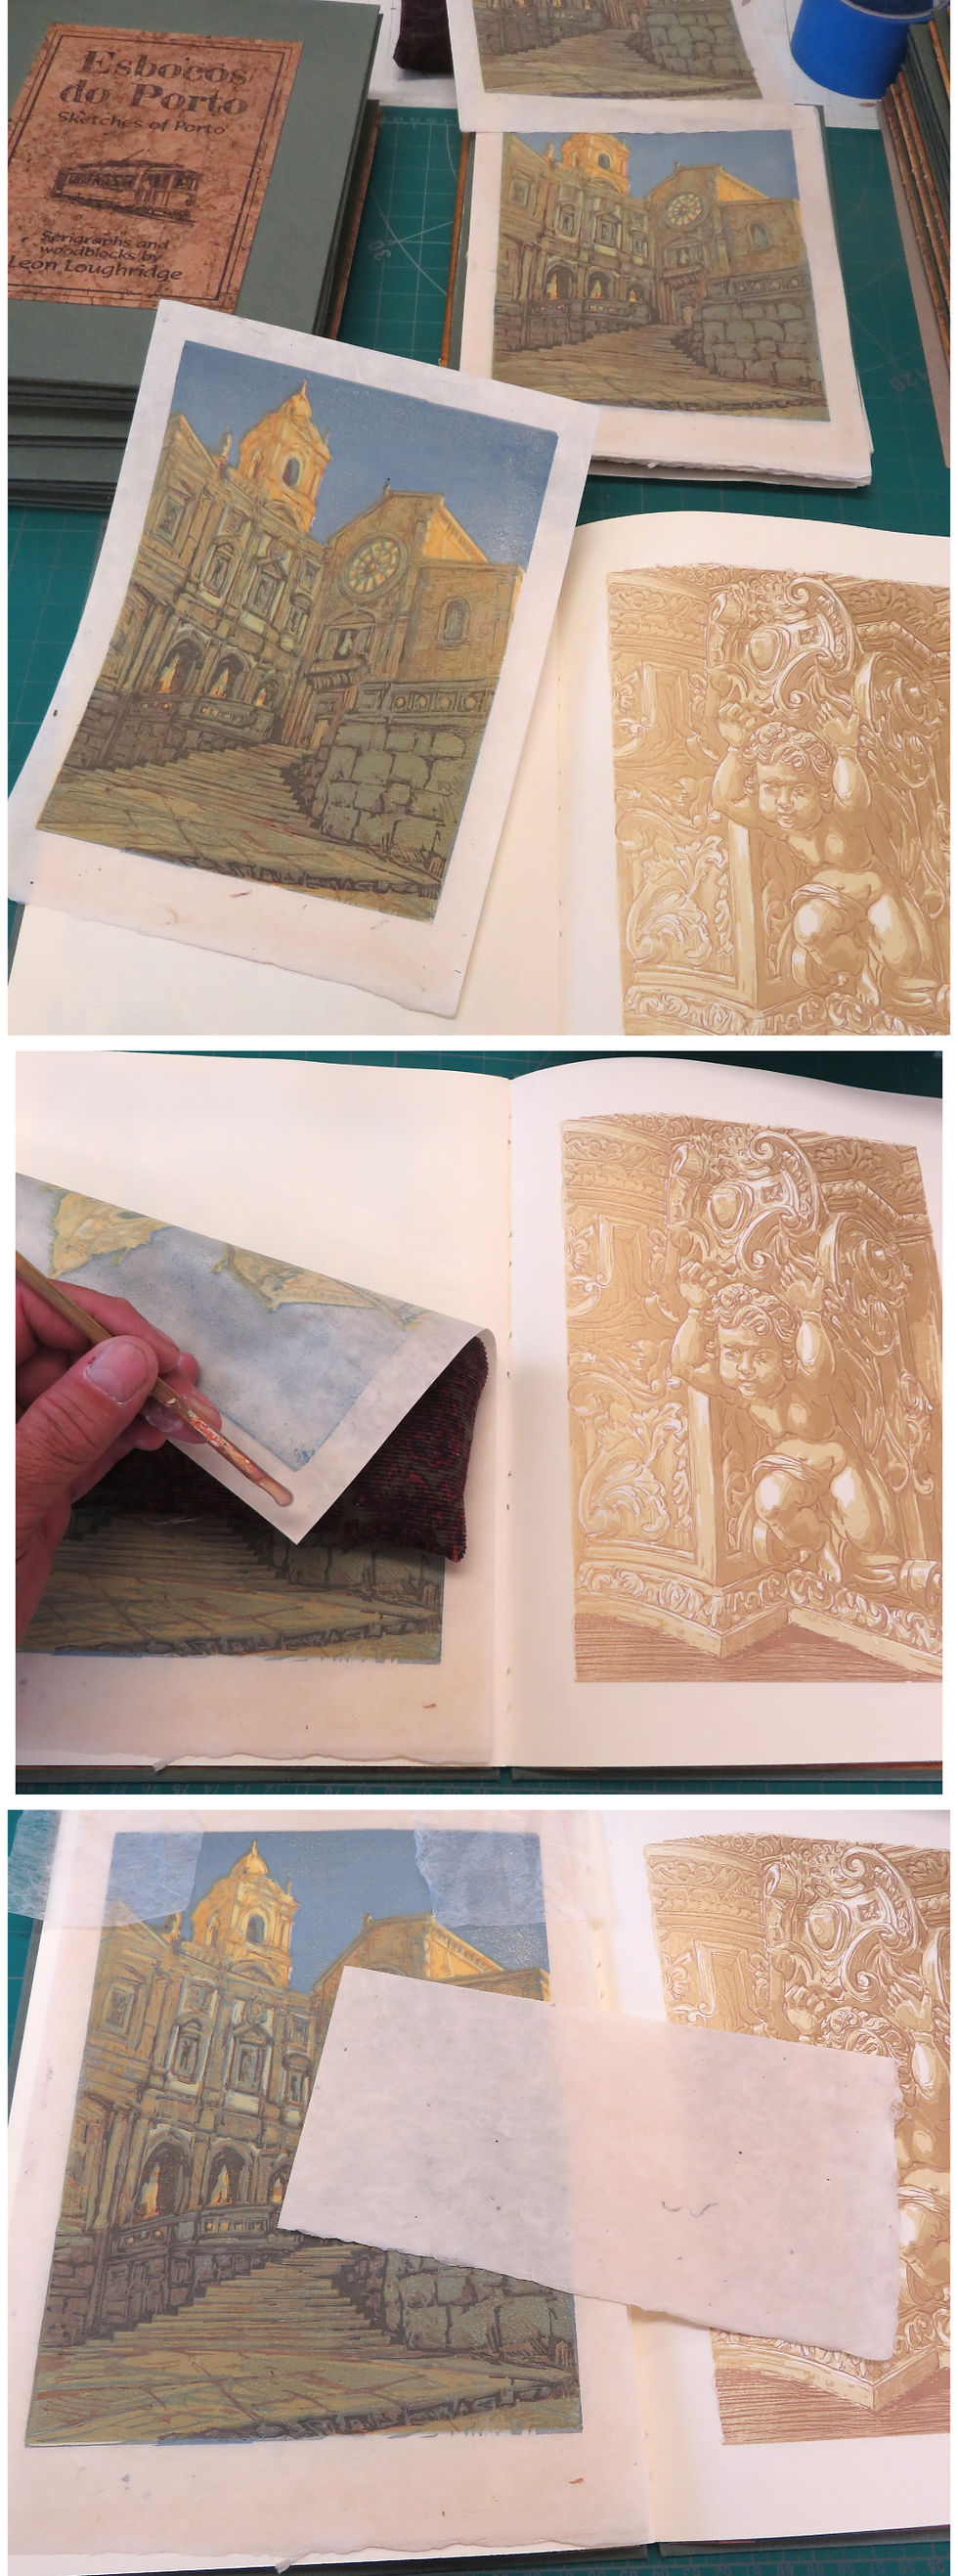
With the book assembled, the two woodblock inserts were tipped onto the appropriate pages. The woodblock was positioned onto the page and held in place with a weight. A small daub of rice paste was placed on the back side of the upper corners, the woodblock dropped back into place, and a gentle pressure applied to set the corner in place. A swatch of Holytex, a polyester fiber sheet, was placed between the woodblock face and a blotter paper to prevent any rice paste that might seep through the print paper adhering to the blotter paper. The rice paste was allowed to dry for a few hours before the Holytex and blotter paper were removed.
At this point, the book was complete except for signing and numbering.


Comments