
A New Block For An Existing Image
- DCartpress
- Dec 10, 2023
- 5 min read
A friend was asking about the challenge of creating a new block to print a background color to a reduction woodblock that is nearing completion. The issue is that with a reduction woodblock, as one nears completion, the background has been carved away. We both agreed that as an image nears completion is when one notices those final color or value adjustments that will make the image stronger.
Over time, being confronted with this same problem, I have come across some simple solutions for creating a new block that registers to the existing print. The more one works with the process, the less daunting the procedures become. There are three options that are both accurate and not overly complicated.
The first option, the simplest, is to use the tracing that was used to transfer the image onto the block. I normally create a line drawing on a sheet of tracing paper, flip that and, with carbon paper, use it to transfer the drawing to the block. I trim the tracing paper on two sides to match the desired paper margin. That allows me to mark where my two registration tabs will be positioned. On the example, I transferred the border of the image and then the areas where I want to add a new color. There is no reason to transfer anything else as it will just be carved away. The registration tabs are cut from a hotel key card and then taped into place. The nice option of taping the registration tabs in place is that they can be easily repositioned if the registration is slightly off. The final step is to carve around what will print.

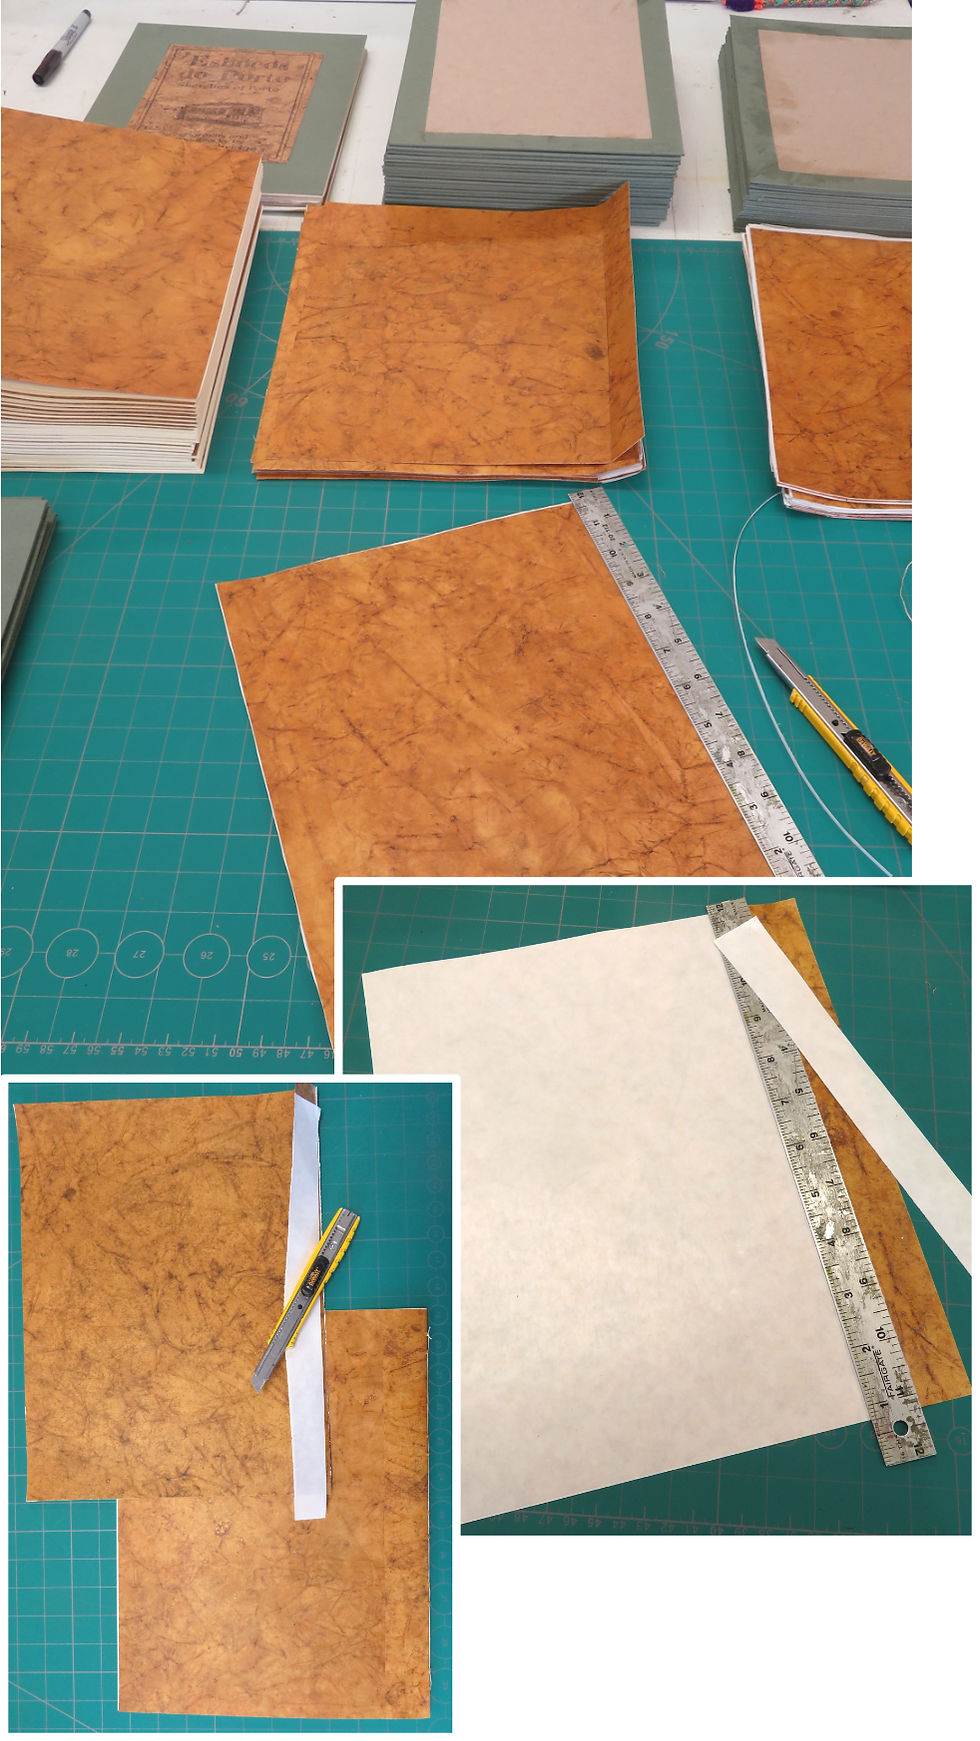
A second option is to create a new tracing master. A clean sheet of tracing paper is laid over the print. On the print, mark the corner and straight that align to the registration tabs on the original block. With the print secured to a drawing board, the tracing paper is aligned to the registration marks on the print and taped in place. Using a Sharpie Fine Point marker, the image is outlined and then the area to print is drawn in. The tracing is flipped, taped to the block and the image transferred using carbon paper. The registration marks are transferred to the block as well. The tracing paper is doing double duty in that it shows the image area as well as the paper margins.

The third option is a more traditional process of transferring the image to the block with a few steps added to make the process a bit easier. The concept is to take a proof print and adhere it face down onto the block, then carefully delaminate the paper to expose the thin layer of paper with the printed image. Like the rest of moku hanga, the process sounds simple until everything doesn’t go the way it is supposed to.
It is all the little tricks that make the process go smoothly. Also, a nice kozo paper is going to cooperate far better than a hard machine-made paper. The first step is to make sure the block is clean, smooth and that there is room for the print proof along with the registration tabs. I like to leave about an inch for the tabs which allows room for the tab to be taped into place. Second, on the print proof, take a fine point Sharpie and outline the area that will print. The dark line will make exposing the printed side of the paper and carving so much easier. The third step is to thin the Nori paste as it is too thick if used straight out of the jar. Scoop a large spoon full into a small bowl and then add a spoonful of very hot water and stir the paste until it starts to break up. Add more water stirring between each spoonful until the paste is a heavy cream consistency.

With the paste ready, the fourth step is to mist the back side of the print proof with water and wait about five minutes to allow the paper to expand. Then apply the paste to the face of the print with a firm brush. Make sure the paste is an even application without dry spots. Quickly, lay the print face down onto the block, making sure it lays down evenly without wrinkles. Immediately, burnish the print with a baren and a thin plastic sheet to protect the moist paper. Apply some good pressure, making sure the paper is adhered to the block where the registration tabs will be placed and the area to be printed.
There is a reason for moistening the back side of the print and applying the paste to the front side which has not been misted with water. If the paste is loose enough, it will spread evenly over the somewhat dry surface of the paper and will begin to bond to the paper surface. When the paper is pressed onto the block, the paste will have a quicker and stronger bond than if the paper surface is wet.

The fifth step is no exception to the fact that “touch” is such an integral part of the moku hanga print process. Promptly, mark where the registration tabs will be placed. Allow the mounted print to sit for five to ten minutes, and then with a moist (not wet) finger, very gently begin to rub the paper until it begins to peel up in small rolls. Start in an area that will not be printed to get a feel for how carefully the paper layers delaminate until just a thin layer with the printed image is left adhered to the block. Carefully watch as the paper is peeled up that the final layer of paper does not peel away from the wood. If it does start to pull up, carefully press it back into place and leave that area to dry completely. The Sharpie line work will make the image easier to see and help determine what areas to peel away.
Once the paper has been peeled away, exposing the area with the Sharpie lines, the paper and block are allowed to completely dry overnight.
For the sixth step, the register tabs are taped into place on the completely dry block. Getting this step done before carving begins will save headaches when the excess paper is peeled away. Too often, after the block has been carved and as the excess paper is being peeled away, one realizes the registration tabs were not set in place and the paper is gone.
After the block has been carved, peel the excess paper away using a spray bottle to moisten the paper and rice paste. After the block dries, it is ready to carve.


Comments