
Setting up a block with registration.
- DCartpress
- Feb 4, 2023
- 2 min read
Over 10 years ago I started to move away from oil based inks and using the Japanese method of printing. One of the first steps in that transition was setting up the block for registration. In letterpress printing where one is using a mechanical press to apply pressure, the paper is held by the tympan, a rectangular thin metal frame with registration tabs to hold the paper in place. The hinged tympan is lowered onto the cared block and pressure applied with the press. Set up on the tympan was always time consuming.
On the Japanese process, the registration tabs that align the paper to the carved image are directly on the carved block. This makes registration a bit easier as one can see that the paper is aligned to the tabs.


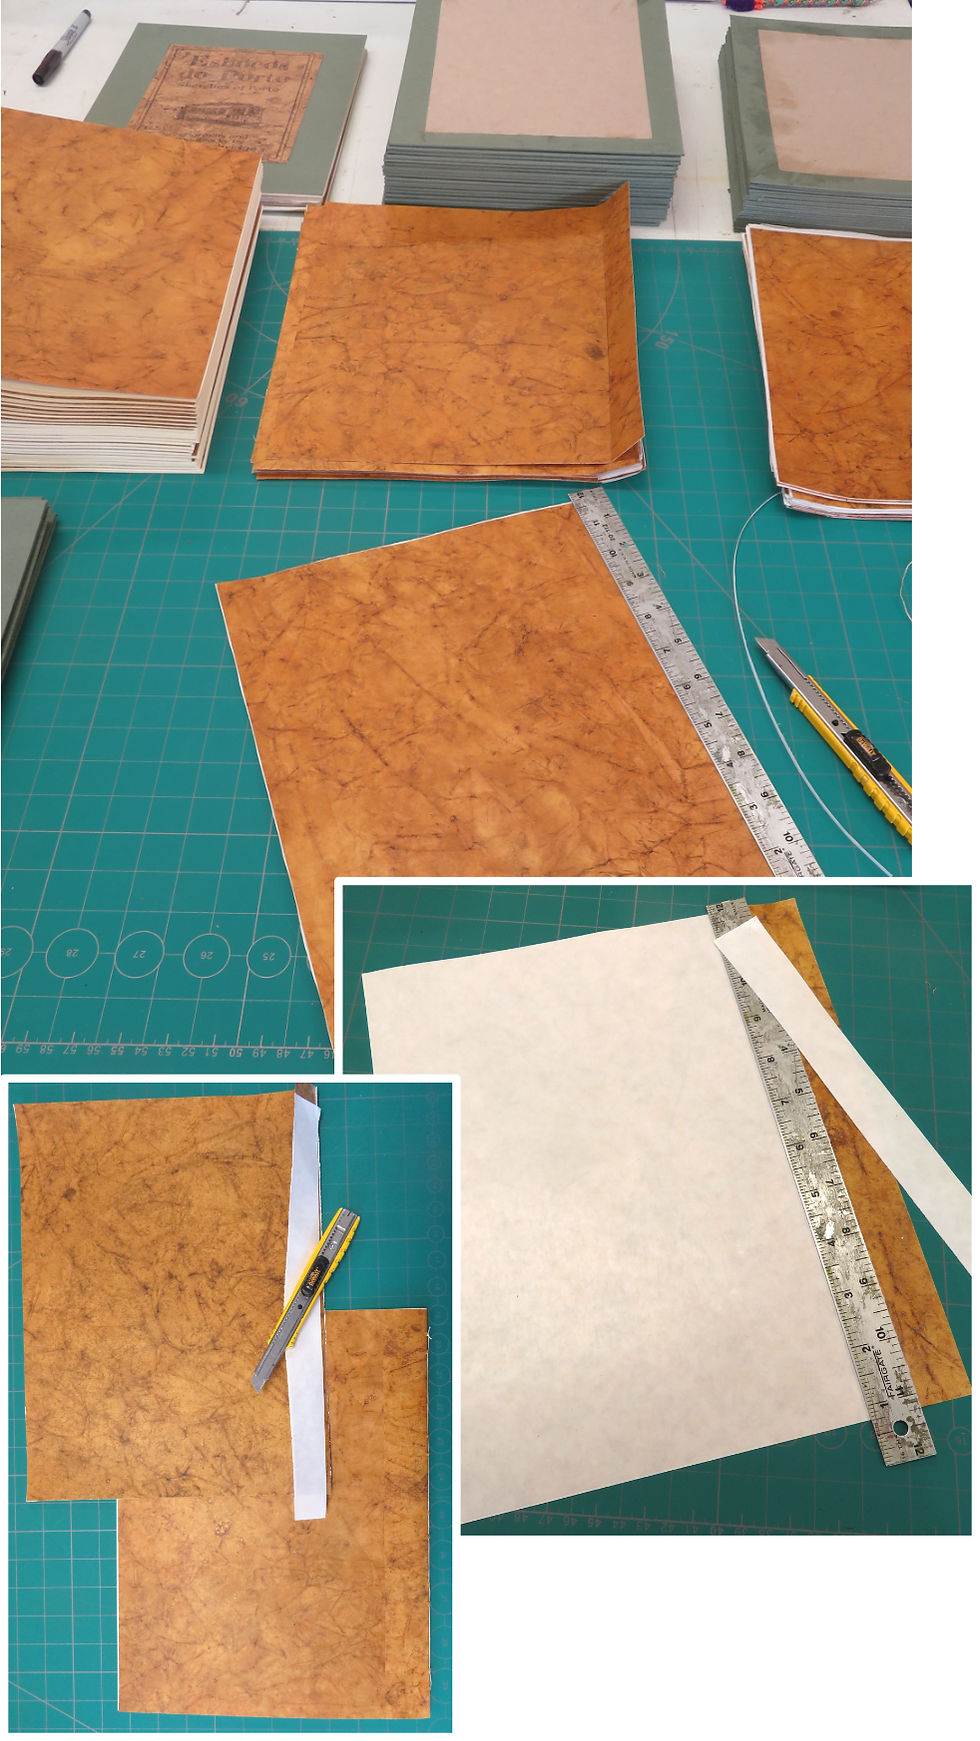
I still prepare the block in the same manner. I first draw onto the block a square corner using an L Square. This line creates the key corner where the paper will align. I then draw in a second line for the width of the desired paper margin, the distance between the image and the edge of the paper. This second line is the edge of the image and where the tracing will align.

A line drawing of the image is made on tracing paper of either the actual watercolor or a digital image which has been resized to fit the desired block size. That tracing is flipped, reversing the image, and then aligned to the guides drawn onto the blank block and then taped into place.


The image is transferred to the block using carbon paper and a colored ball point pen. The different colored pens helps to keep track of what has been traced when transferring the image to multiple blocks. With the line drawing on the block, I like to pencil in areas that relate to the predominant color the block will print.


This helps to make sense of all the lines and helps me understand what carves away and what remains. I usually have two blocks that I am working with, a cool and a warm block. The line drawing and pencil notes are sealed with a spray shellac as I want to retain the line work during the multiple print stages the block will go through. The shellac hardens the cherry veneer slightly, so there is less tear out when carving. The shellac does make the wood less absorbent which will change the inking process slightly, but not enough to worry about.


With a straight edge, I make a stop cut along the borders of the image. This allows me to carve away the block from the paper margin area. This allows me to carve out the image border which will be the paper margin.


The last step is to position the registration tabs onto the block. A corner and straight tab are cut out of plastic cards, such as gift cards or hotel key cards. These are aligned to the very first guide line drawn with the L square.
The block is now ready to carve and print. If I want a second block, I just repeat the process either on the back side of the block or on a new block.


Comments