
Adding a glaze and using a mask.
- DCartpress
- Mar 28, 2023
- 2 min read
Being open to change can be a bit challenging. The first challenge is to recognize a change needs to happen.
As I was printing the last few color runs on ”Quarai Mission”, I realized that one of the first color layers I printed was just a shade too dark and not quite the right color. I wanted the clouds to recede behind the building, but the current value was not allowing that to happen. It is an easy mistake to make. What seems the right value and color in the initial print stages may turn out to be a value that is too dark when the composition develops. I love these challenges and think that this is when some real creativity comes into play on figuring out to resolve a problem to make the image more dynamic.

The print with the dark clouds.
Using the reduction process to print, I am always carving away areas of the image, reducing the print area of the block with each color. So, my first thought when confronted with this problem was, is the cloud area still intact on one of the blocks? Fortunately, it was.
I did not want the cloud color to print over the tree area. I wanted the cloud to be lighter than the top of the tree, so the clouds would recede. Carving away the tree was not an option as I wanted to print some subsequent darks onto the tree. I needed to block the cloud color from printing on the tree as an extra color layer would create an odd color change at the top.

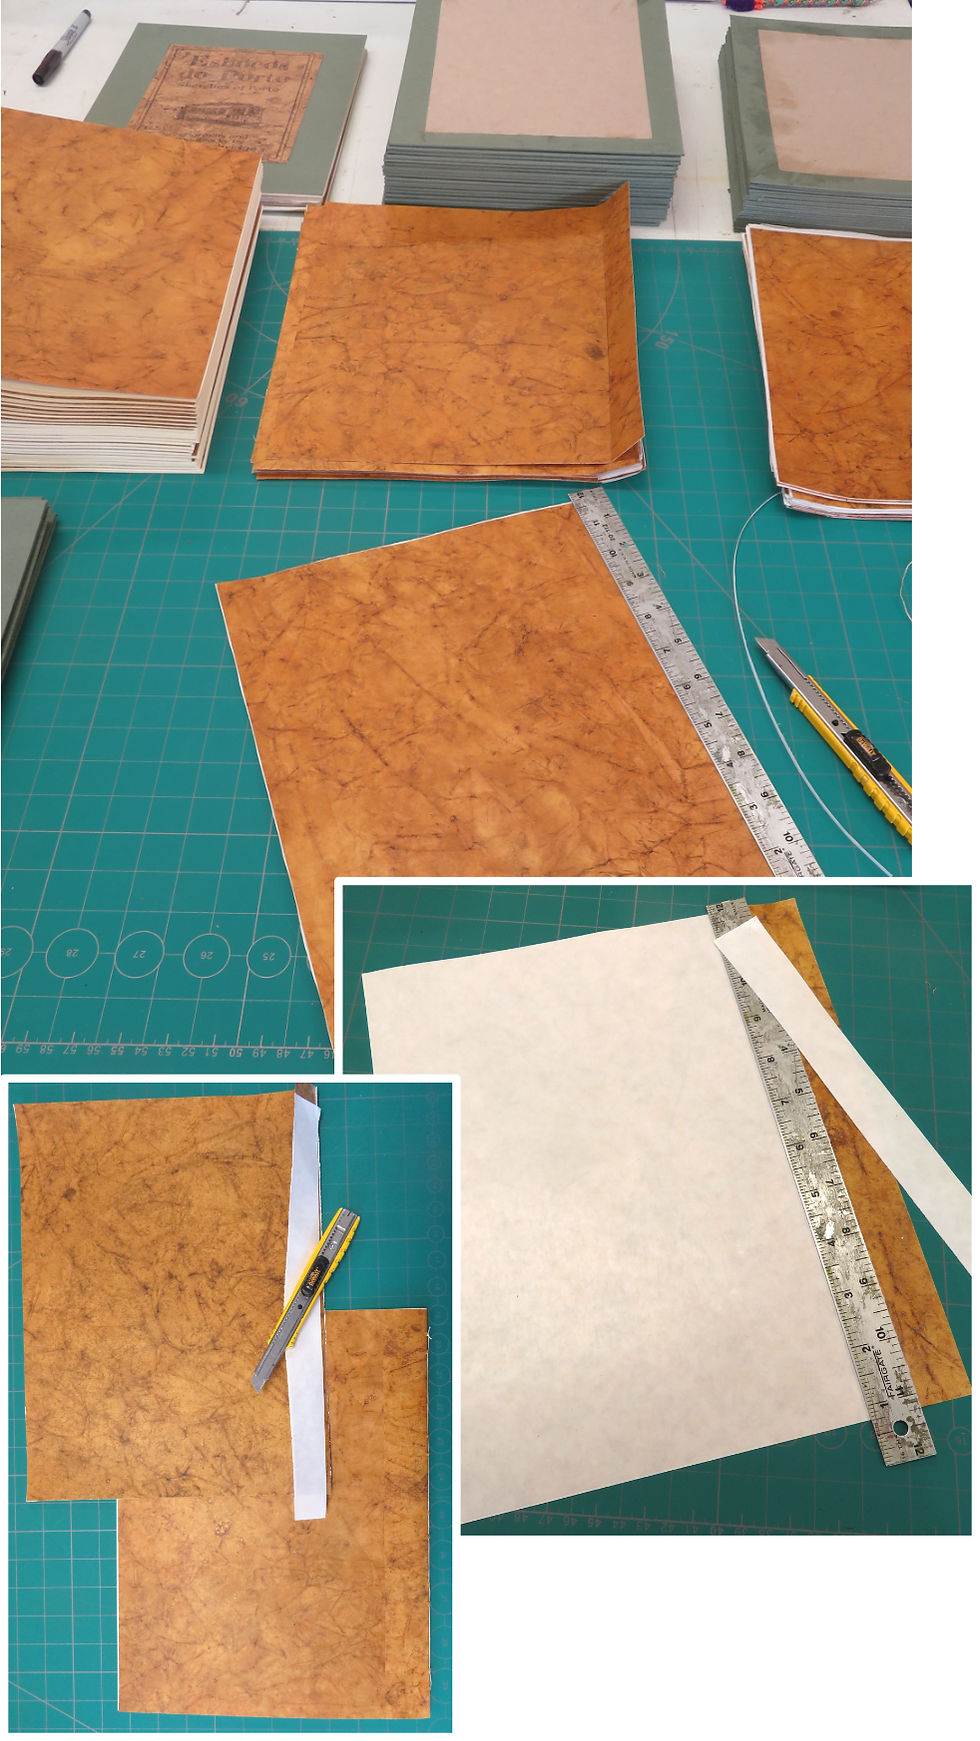
So, I cut a mask to cover the top of the tree which I would carefully lay over the inked block, masking the top of the tree. I cut the mask larger than I needed so I could use the extended areas to help me register the mask.
I added a blue line to show the top of the tree extending into the cloud.

When the block was inked, the color extended onto the top the tree. I did need to feather the edge knowing I would be using the mask.

The mask was carefully yet quickly aligned onto the block so the ink would not dry and then the paper registerd to the block and printed using the baren.

A detail of the printed area showing the white glaze over the clouds but not on the top of the tree. Eventually, more color was printed, darkening the tree.
The result worked as planned, making the clouds visually recede behind the tree. That paper mask actually held together for two prints before I needed to replace it with a new mask. To view the completed print, scroll down to the New Prints section on the Woodblocks Page.


Comments