
The Final Carve
- DCartpress
- Aug 1, 2023
- 3 min read
It is always a joy to watch an image evolve from nebulous color fields into a definable image as each color layer is printed over the previous. I would love to say that I know when the final color layer will be printed, but just as in painting, I like to look at the color addition and see if it compliments what is there already. This is where the crane woodblock was when I decided to print one more color run using the Japanese style of printing referred to as moku hanga.

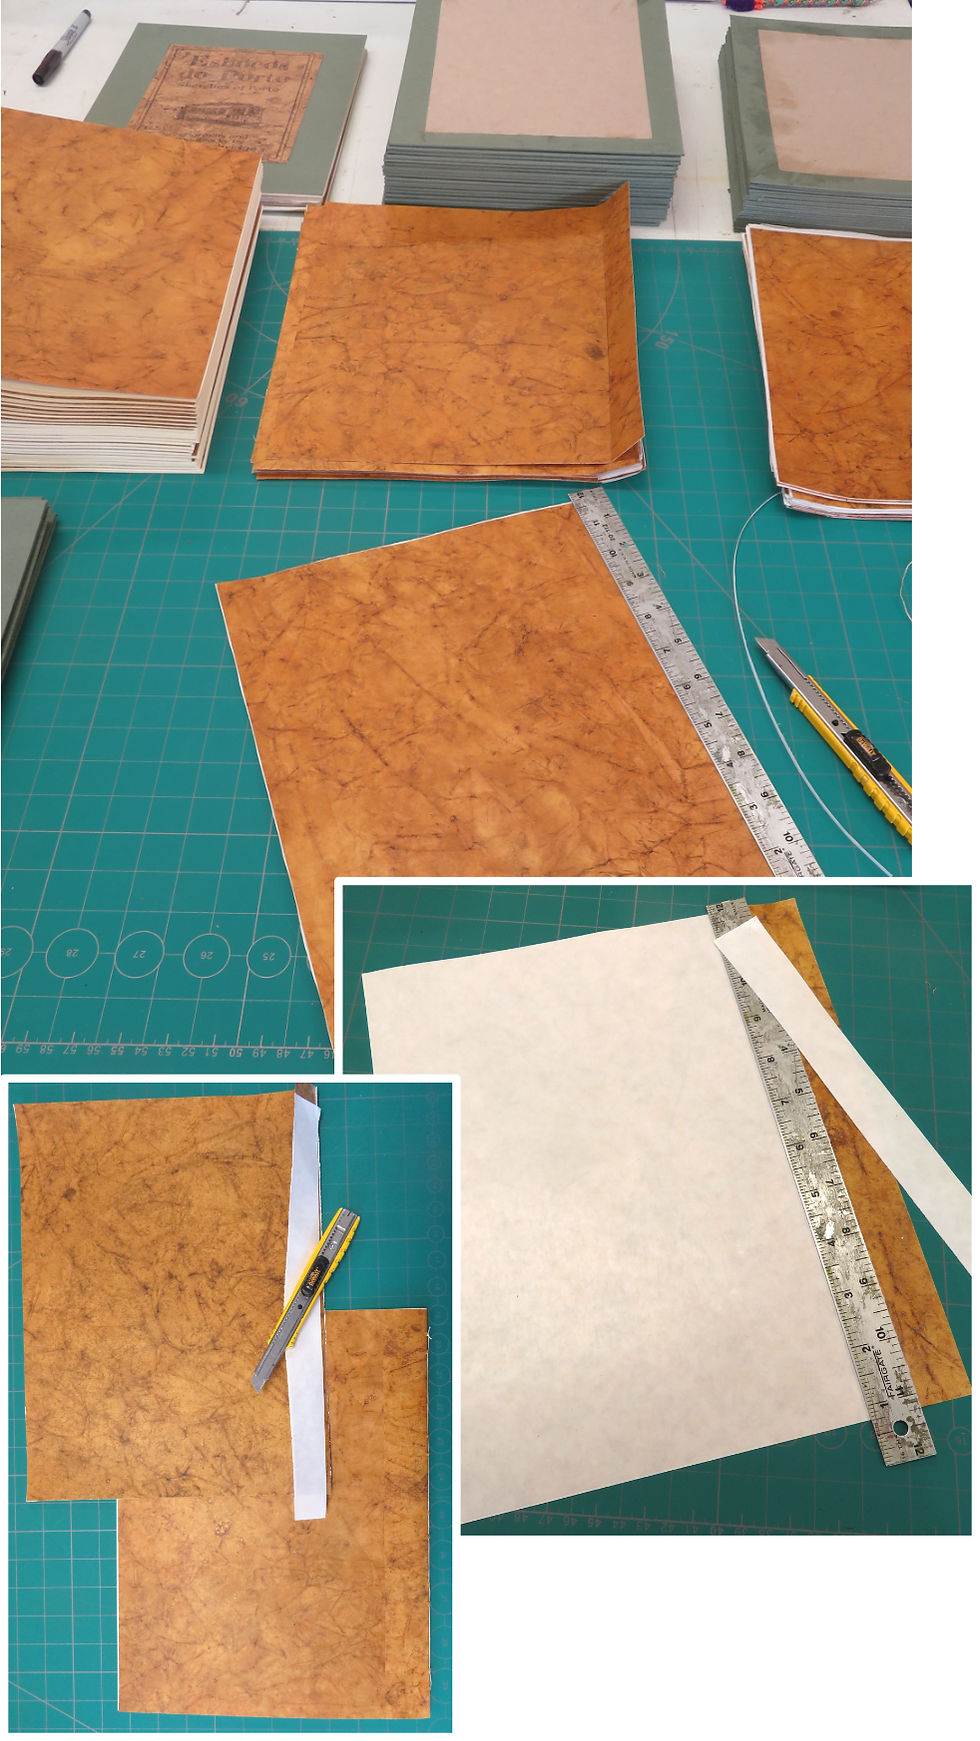
After printing linework with a grayed out sienna ink, I decided I needed some darker accent lines. Using the same linework block, I marked the lines I wanted to print with a black sharpie marker which allows me to know what lines to keep when I start carving away. Drawing out the lines with the Sharpie also helps me visualize how the lines will relate to and complement the composition.
Another issue I have learned to keep in mind is how I will move the baren around the block without picking up low areas. When drawing out the linework, I make sure they are grouped together so that they support the baren and prevent it from applying pressure to low areas. Having a single line standing off by itself can be a challenge to print with a full size baren. To print that single line without picking up any low areas can be an art in itself. The simplest solution is to use a small baren and spot print that one line. Another option is to make a mask, a sheet of newsprint with a hole corresponding to the line in the middle of the sheet. After the line is inked, the mask is laid over the block with the line to be printed exposed through the hole. The mask will protect the print paper from the surrounding low areas while the line will print cleanly. On this block, I made sure to group my lies close enough together so the baren is supported above the low areas.

So, with my linework drawn in with the Sharpie marker, I started to carve away the areas that will not print. I used a larger gouge in the areas without linework and then moved to a smaller gouge as I carved up to the marked lines. A small v-gouge was used to thin out some of the lines, giving them a slightly different character than the previously printed line.
With the carving complete, I pulled a few test prints on newsprint to make sure the line work was clean. This gave me a chance to refine the carve and clean up any unwanted low areas that may be printing. This step not only helped me refine the carving, it also helped me set a burnish pattern to avoid dropping or tilting the baren into low areas that might be inked. After those refinements, I was ready to print.

I darkened the color mix I had used before and started printing on the actual prints. There are invariably a few misprints, a mis-registration, a drop of ink or a general mess up, which I use to “warm-up” the block and inking brush. When printing, there is a balance of just the right amount of moisture between the ink brush and the block. On the first printing, the block can be dry, which means the ink doesn’t transfer completely and crisply as it will once the block is holding a bit of moisture. So, those misprints do serve a purpose other than reminding one of their mistakes.
And then comes the joy of pulling prints off the block and seeing the printed image with its new color all in register. There is a subtle difference between the two print stages, but the darker lines add that final touch.


Comments